Making the shift from teaching at a gym or studio to using your home as a virtual studio can be a big transition, especially if you never intended to be on camera for a living.
We chatted with Recess early adopter and SF-based yoga instructor, Brooke Fleming, about her home set-up. Like many of you, Brooke had taught exclusively in-person at local studios before shelter-in-place moved her inside. She didn’t jump into virtual classes right away, telling us “it took me a while to transition…but now I can just be myself, make jokes” and enjoy the experience. She shared some of the keys to her successful space below.

[Brooke gives us a tour of her home studio]
Optimize your space
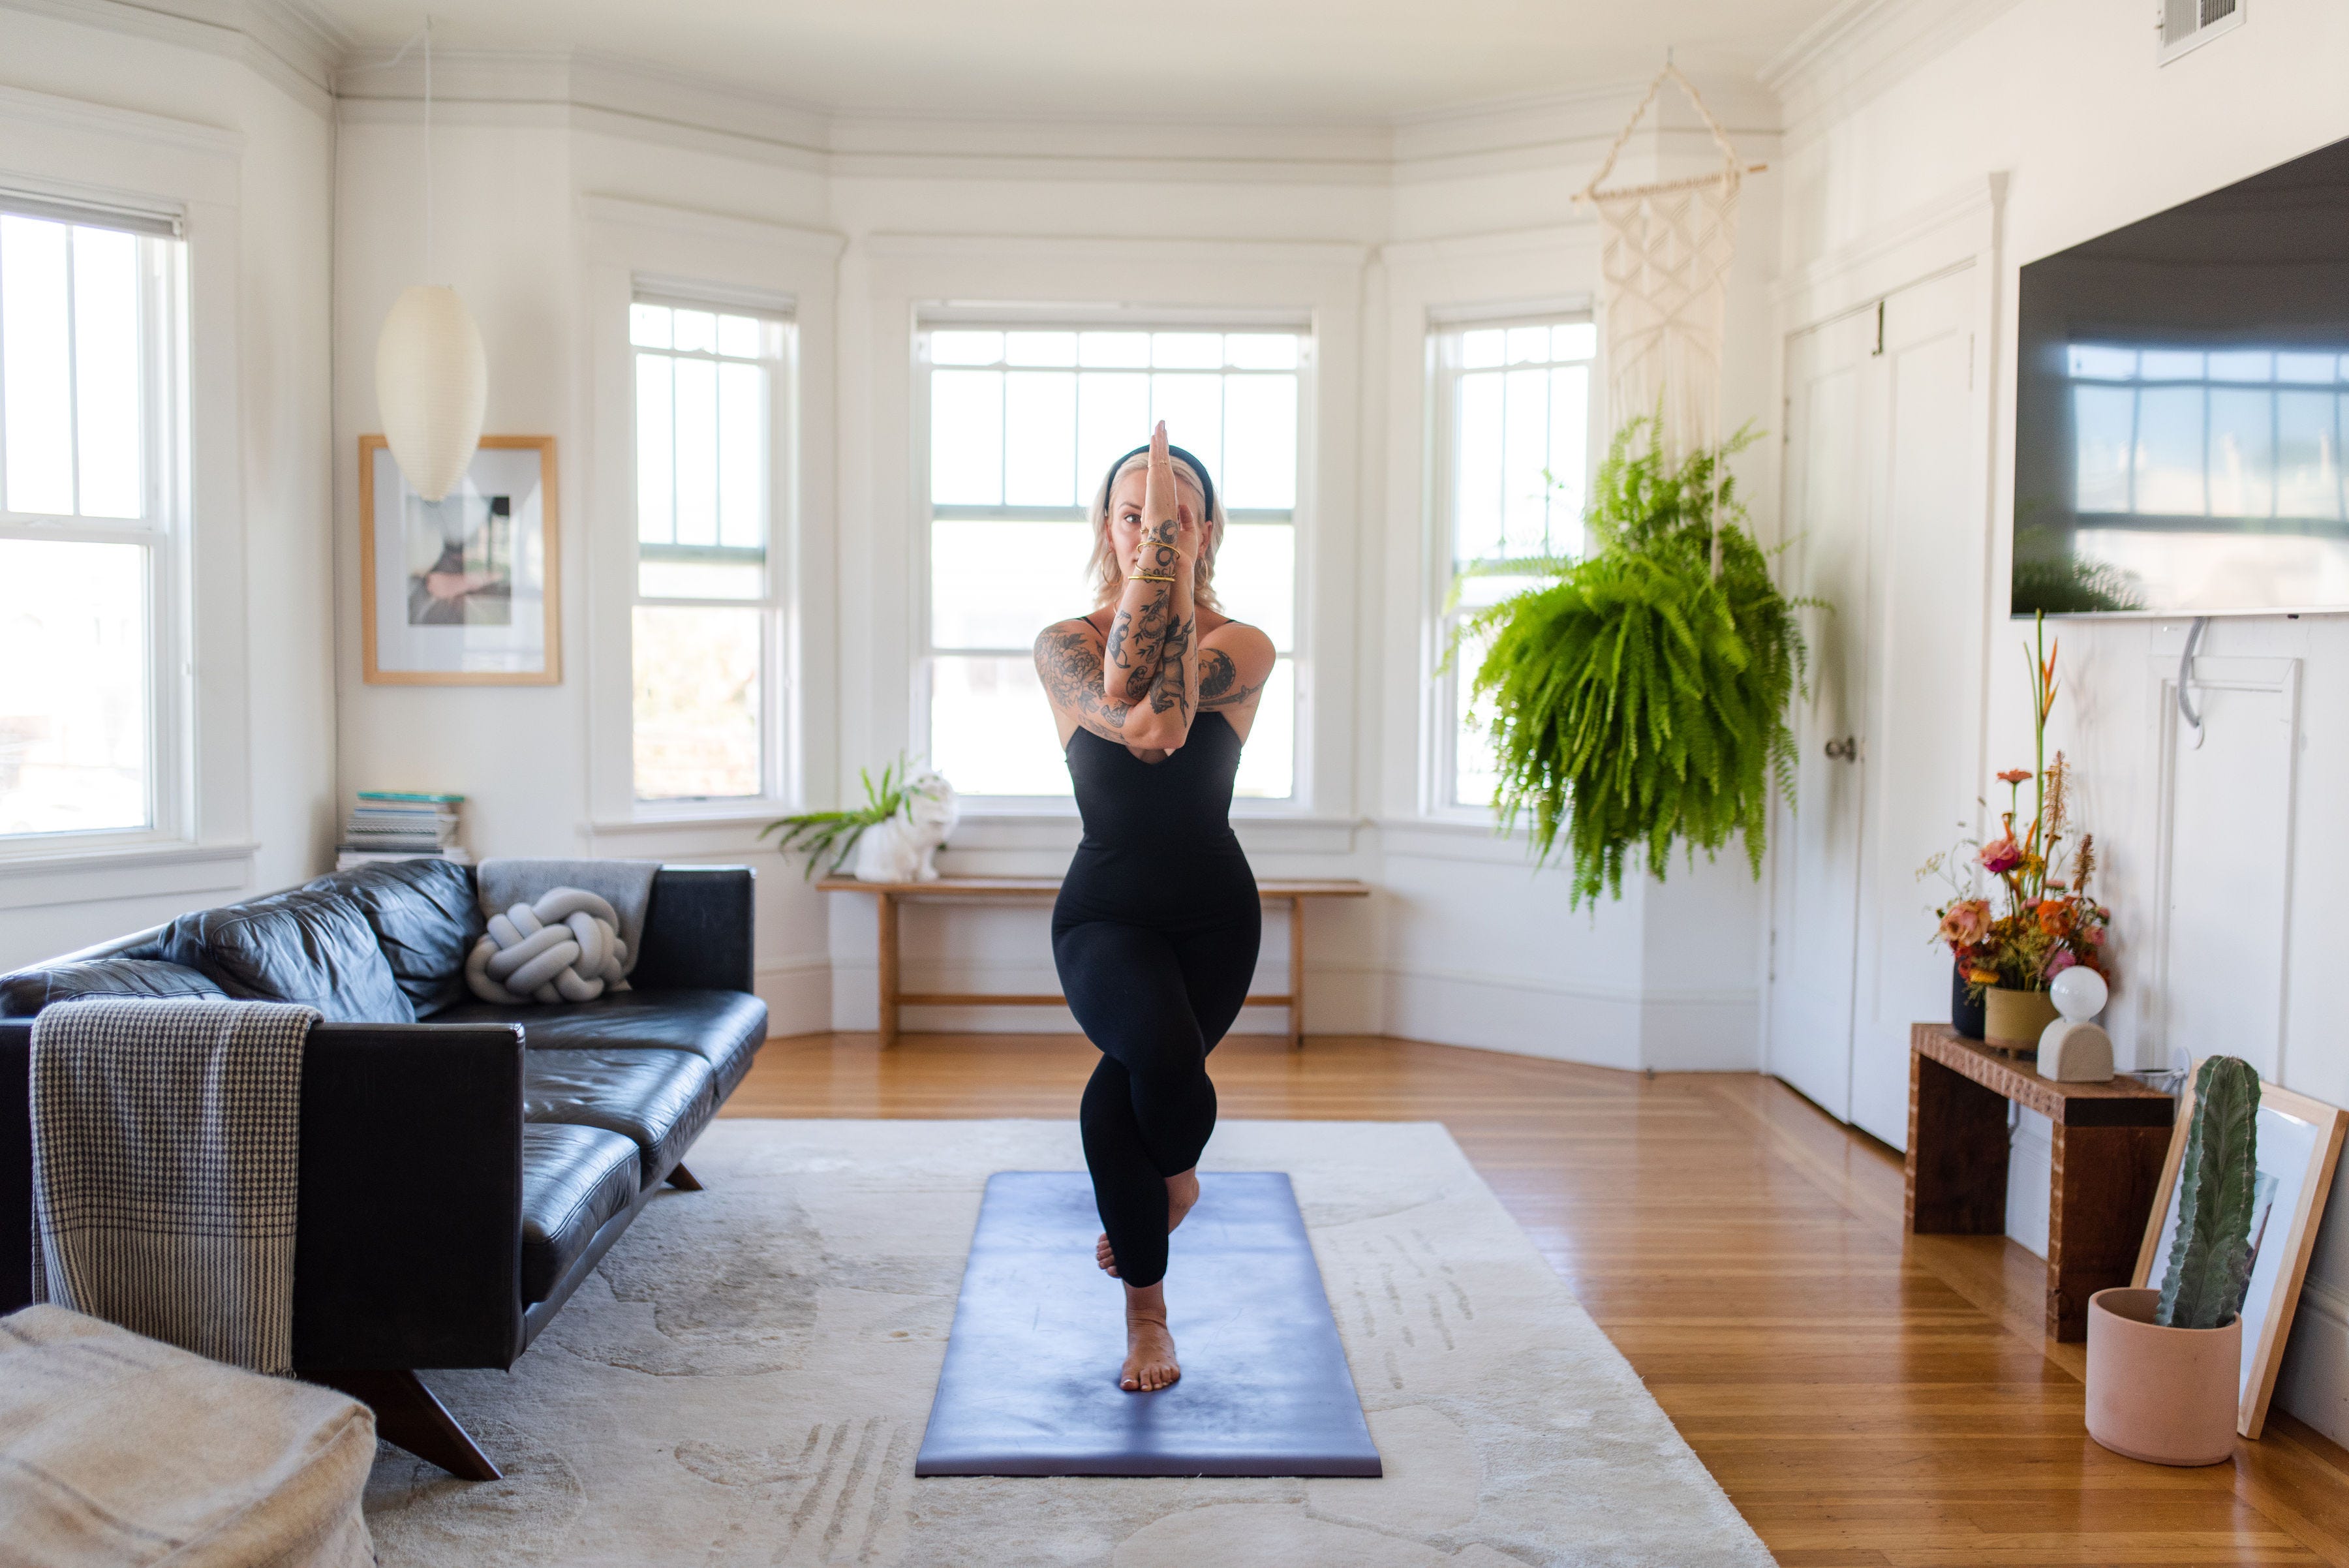
About her Recess studio, Brooke tells us “I love my space, and it’s worked well for a virtual space, I’ve lucked out.” She offered the following advice to fellow trainers looking to improve their visuals. Her first suggestion, “as far as the space goes- less is more” is the best way to make a big impact. “If there’s any kind of clutter that can be cleared out of your space” do that first. Take a peek through the screen to see what your audience is looking at and remove anything distracting. We like how Brooke includes some personality in her space but nothing that pulls focus away from her.
The other consideration to transform how your space translates on camera is to “have natural light facing you, if you can, that’s key,” she tells us. For now, the natural light through her windows does the trick and as the days get shorter she’ll consider bringing in artificial lighting through professional studio lights.

[A sketch of the technical setup Brooke uses]
Gear that performs
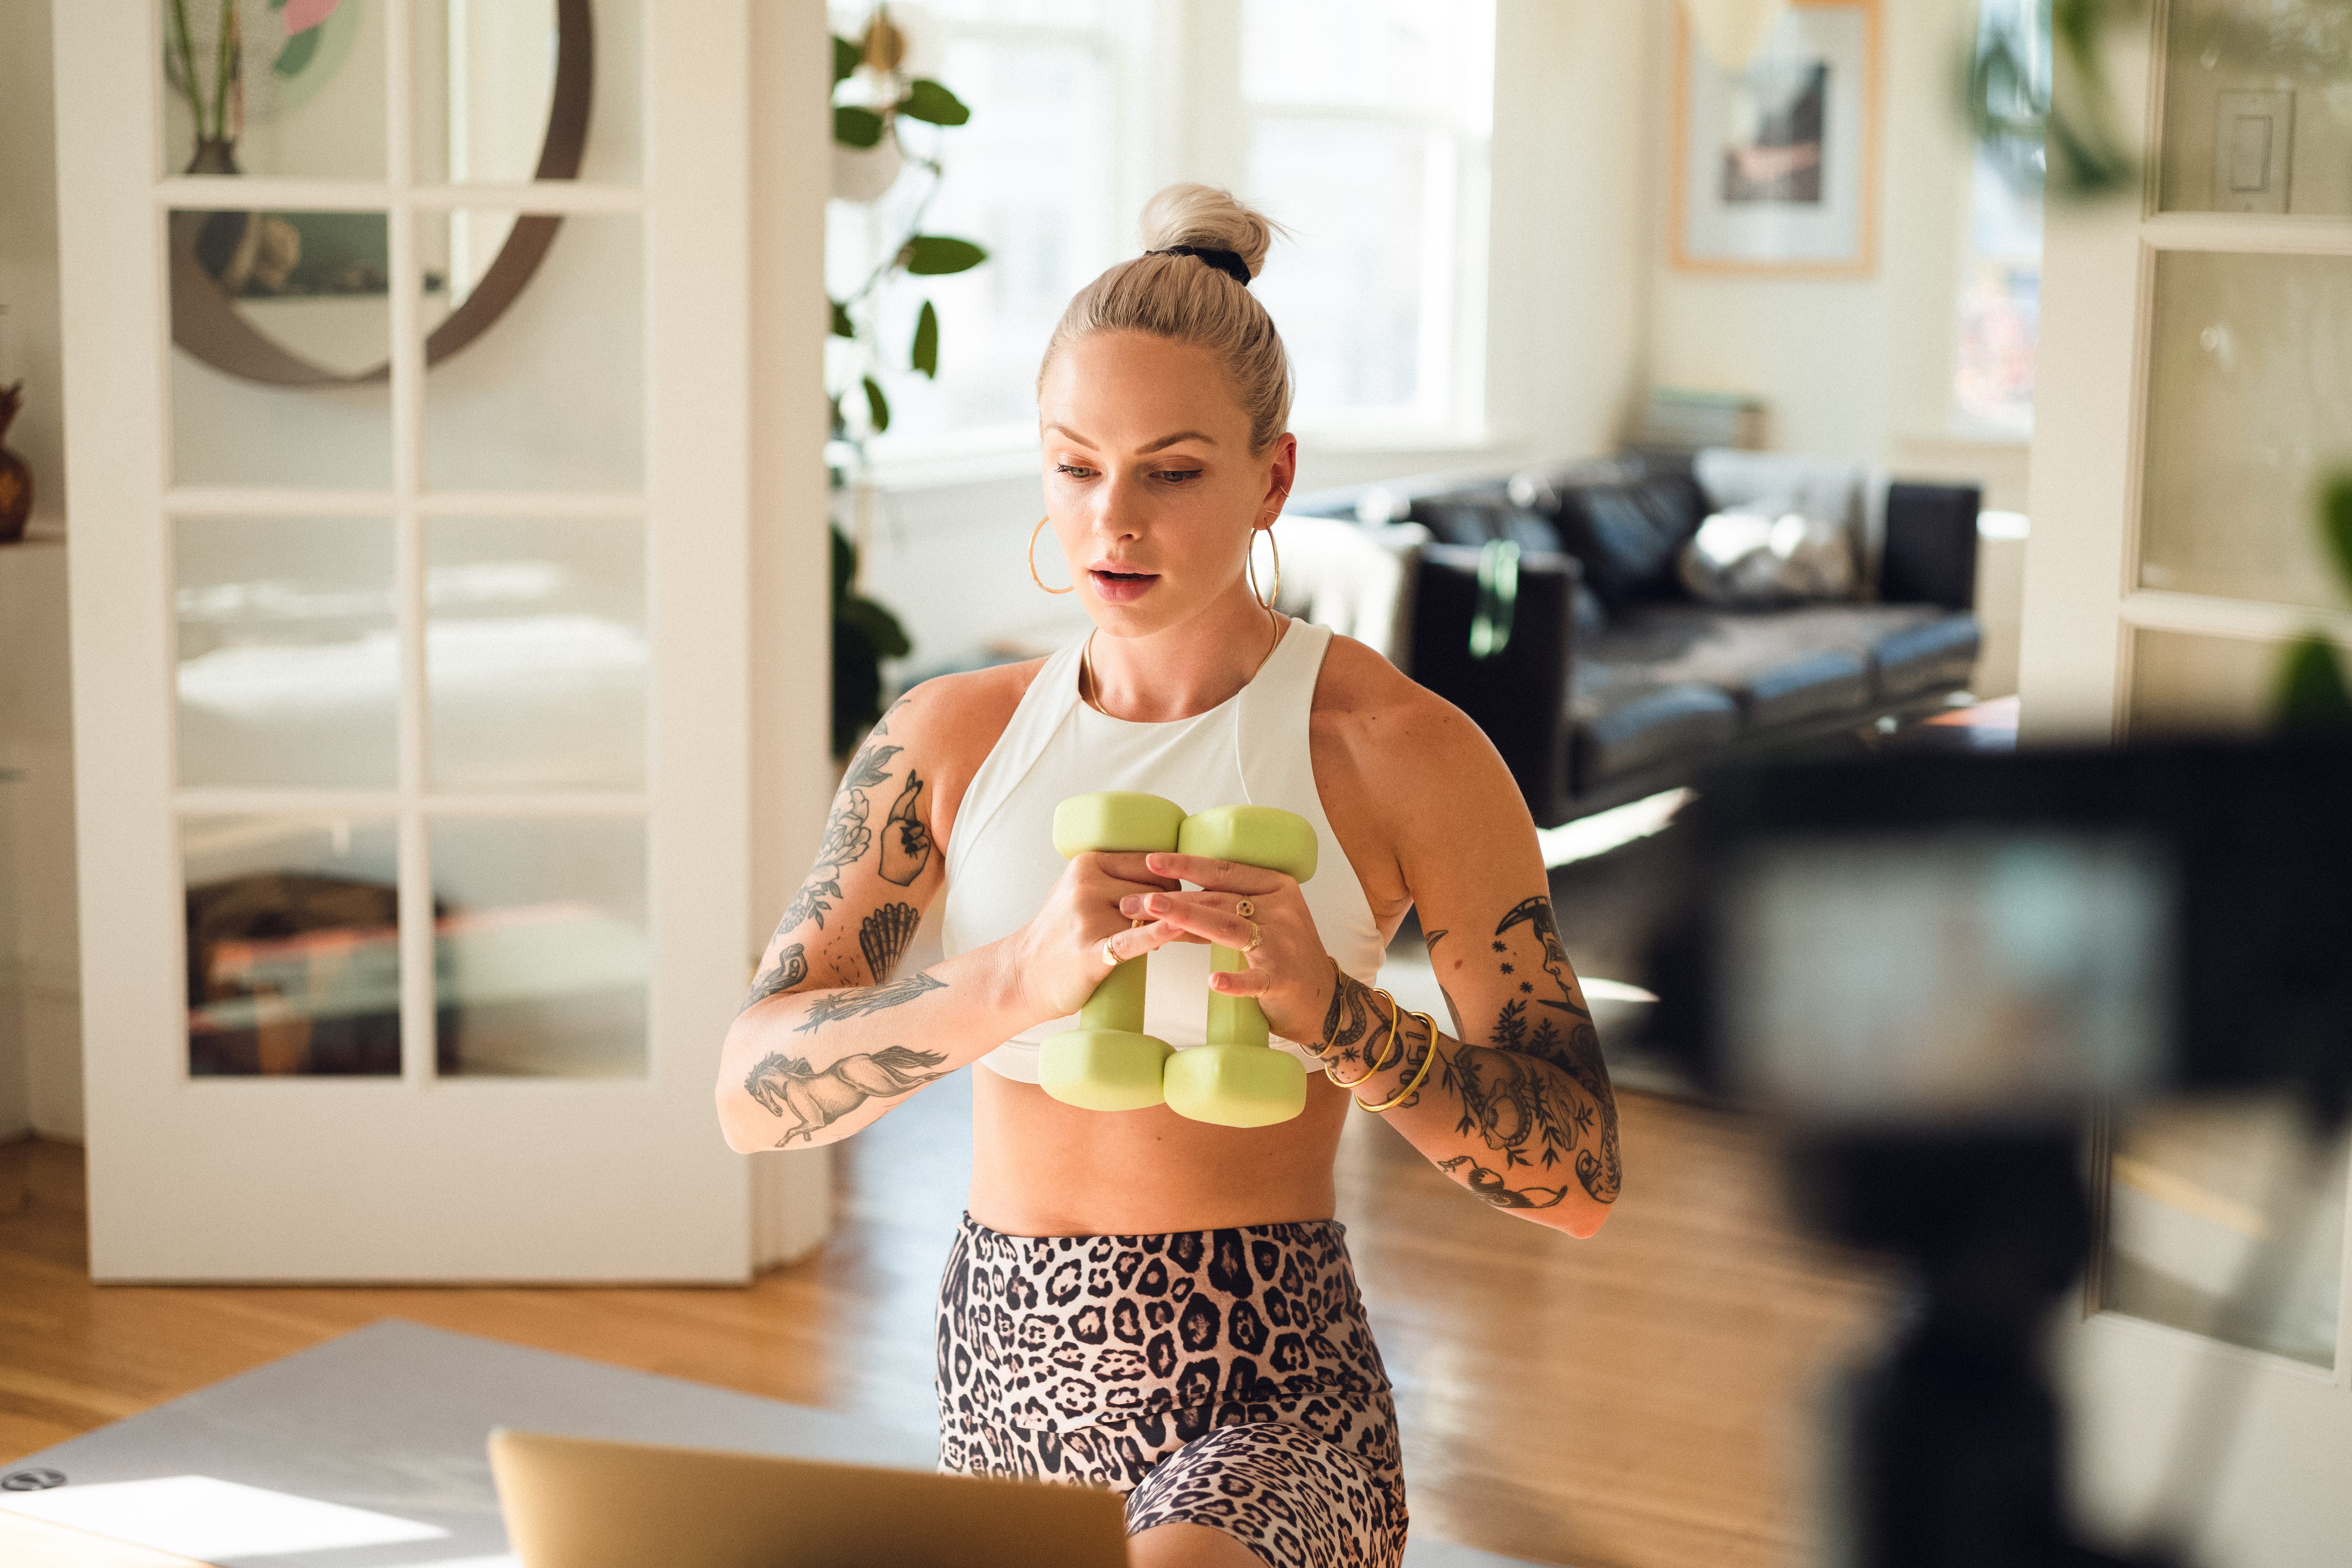
The same way you might think about building out a home studio with fitness essentials like mats, weights, and bands- Brooke suggests putting that intention into your technology. With the help of her more technically savvy husband, she’s created a winning combination of gear. A separate camera ensures her picture quality is on point and gives her more flexibility with angles and room orientation. A body mic, similar to what you might have used at a studio, creates a better sound experience for class. A couple other pieces of technology round out the configuration that she shared above, here, here, and here. While none of this equipment is a requirement to teach virtually, these pieces are investments in elevating your virtual experience and creating a strong digital product.

Be extra
Brooke jokes that she’s “extra” when it comes to the experience for her virtual audience. “I think about things like if my outfit goes with my mat, I have mats of different colors.” Consider if your outfit has enough contrast with the space around you so that your movements translate clearly on camera.
Be sure to know your angles and review footage of yourself to check that your students are getting a great view of demonstrations. Brooke uses a three-quarter angle, and shares that “this angle works best- I’m front facing, but also when I do side poses you can see me.” Regularly evaluate how things appear on camera so nothing distracts from the stellar classes you’re offering.
Brooke is going the extra mile to be sure she’s creating the best possible virtual studio experience for herself and her students. We hope these tips and tricks inspire you to take your studio experience to the next level.
If you’d like to take follow Brooke’s virtual journey, you can find her on Recess at https://recess.tv/@brookefleming